Replace an Image
With ScreenGlow, it is easy to edit and replace existing images. There are two ways to load an existing image into the editor:
- Open a blank ScreenGlow editor and choose ‘Select from Media Library’
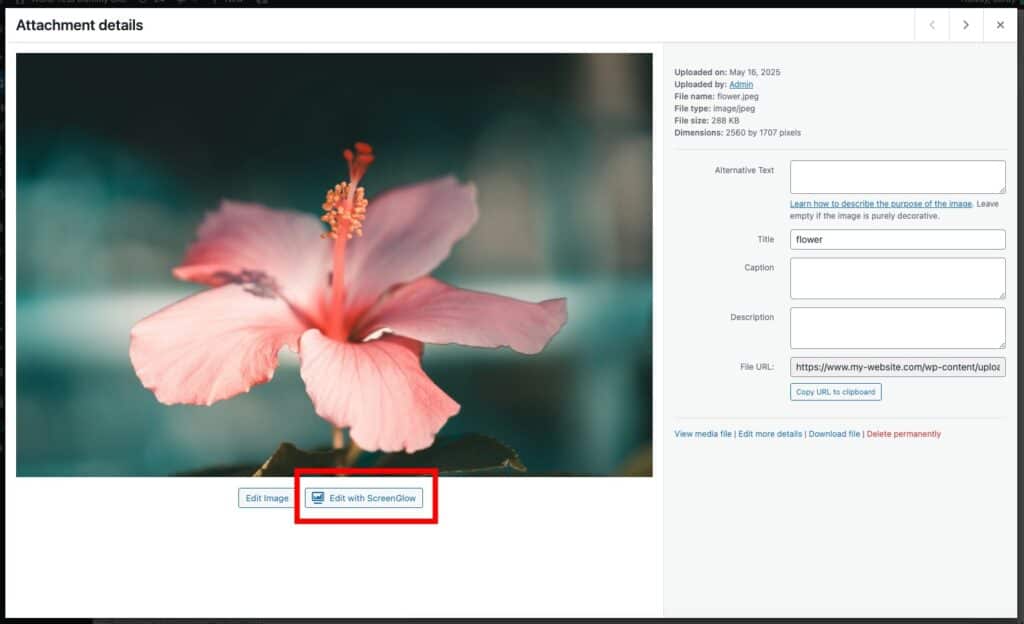
- Open the attachment page of an existing image and click the ‘Edit with ScreenGlow’ button
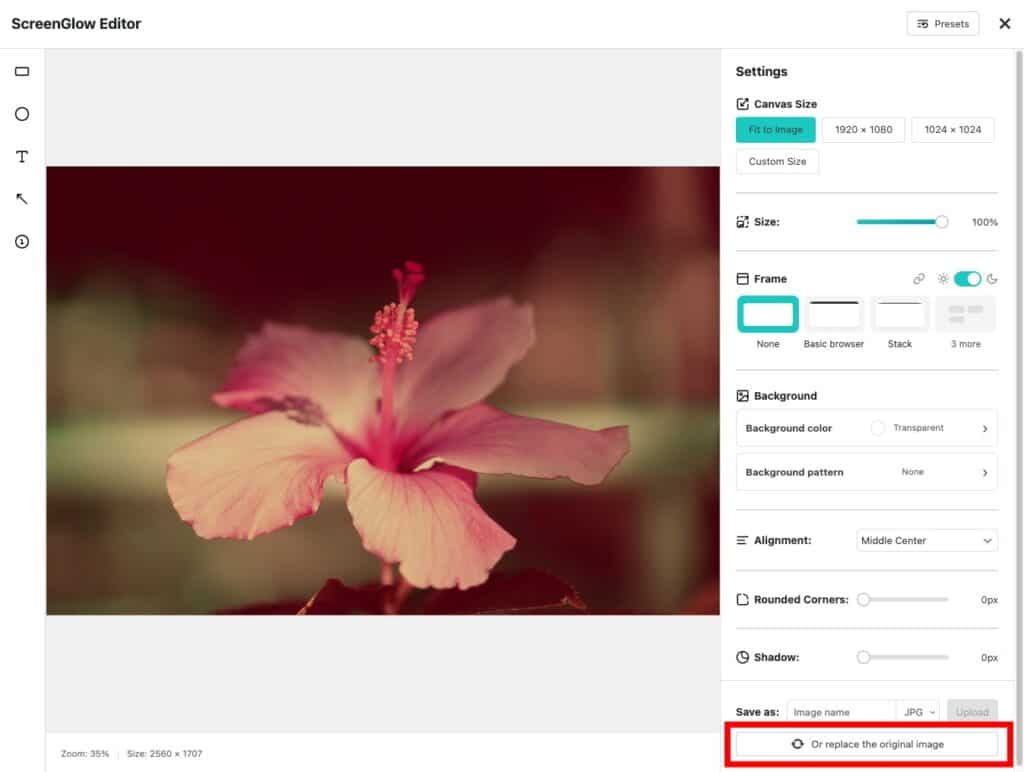
You can now edit and save the image:
- Save as new: Your image will be saved as a new image
- Replace the original image: The image will be replaced on the server
Important: Caching
When you click the Replace the original image button, ScreenGlow immediately replaces the image and all its generated thumbnails on the server.
However, you or your users might still see the older, unedited version of the image. This is due to caching, which ScreenGlow cannot control.
How Does Caching Work?
When you open a webpage, it loads content from the server. To speed things up, your browser or other services may save a local copy of the page (including images) for a certain period of time. This is known as caching.
How long the old image is shown depends on several factors, including:
- Caching plugins (e.g. WP Total Cache)
- Your hosting provider (e.g. WP Engine, Kinsta)
- CDN services (e.g. Cloudflare)
- Your browser (e.g. Chrome, Firefox)
To see the updated image right away, make sure to clear your cache. Otherwise, it may take up to a few days for the new image to appear, depending on the settings of the tools mentioned above. ScreenGlow has no control over this.
👉 For instructions on how to clear your cache, see this article.