Access the ScreenGlow editor
ScreenGlow offers multiple convenient ways to access the image editor directly within WordPress. Here’s everything you need to know about launching ScreenGlow.
Quick Access Methods
1. Direct Paste (Fastest Method)
Simply copy any image and paste it (Ctrl/Cmd + V) in these locations:
- WordPress Media Library page
- Any media upload window (when adding images to posts/pages)
The ScreenGlow editor will automatically launch with your pasted image ready to edit.
Page builders such as Gutenberg and Elementor are supported too!
2. ScreenGlow Buttons
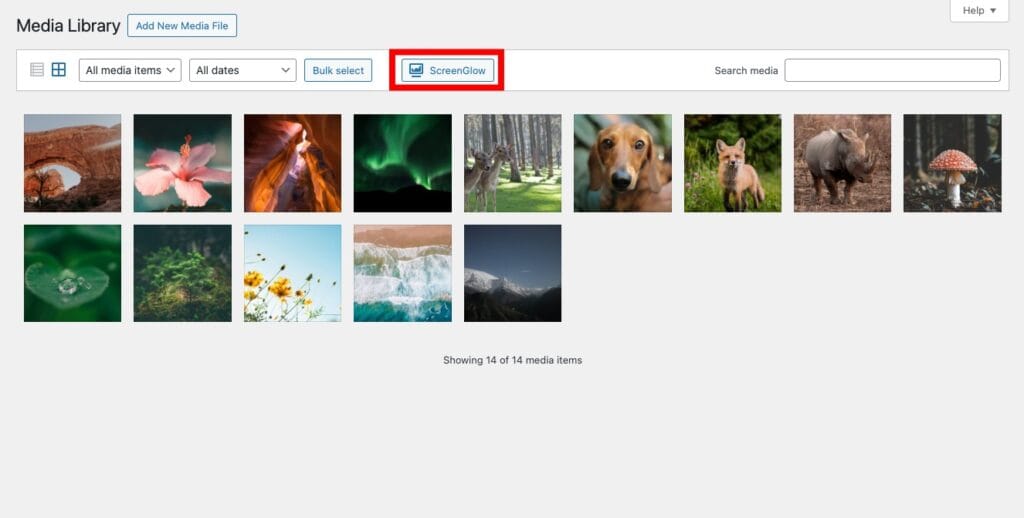
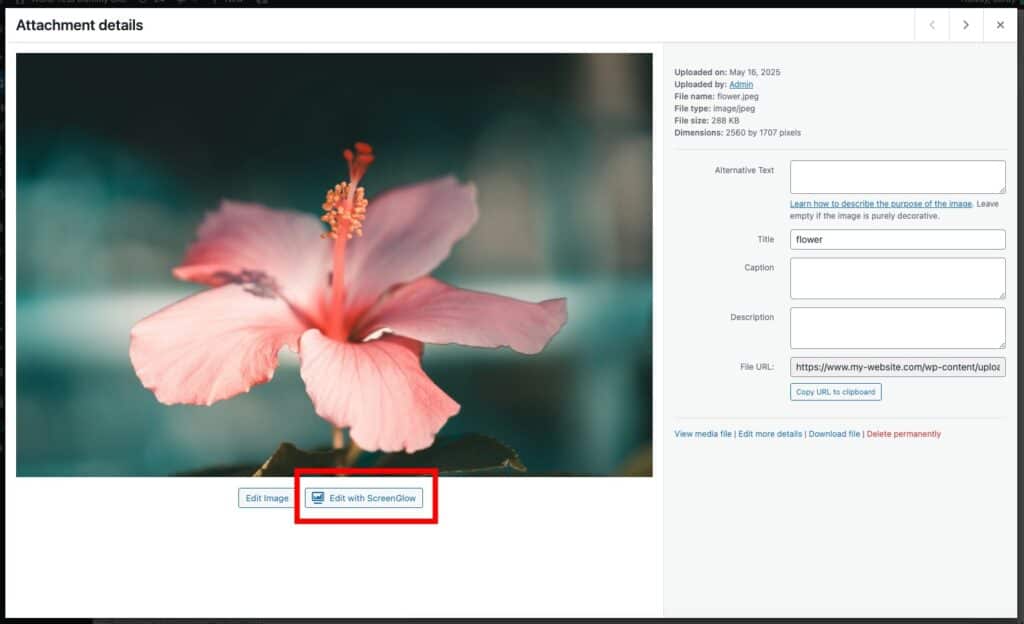
Look for the “ScreenGlow” button in these locations to open the editor:
- In the Media Library: Above your media items in the toolbar
- In media upload windows: Look for the “ScreenGlow” tab at the top (next to “Upload Files” and “Media Library”)

- On an Image Details page: Look for the “Edit with ScreenGlow” button while viewing an Image Details page. This will allow you to edit the existing image.

Customizing Access Points
You can control where ScreenGlow appears in your WordPress admin. Here’s how:
- Go to Tools → ScreenGlow in your WordPress admin menu
- Look for the “Integration” section
- You’ll find these options:
- Media Library Paste: Turns on/off the ability to paste images directly into the Media Library
- Media Library Button: Shows/hides the ScreenGlow button in the Media Library
- Media Modal Tab: Shows/hides the ScreenGlow tab in media upload windows
- Attachment Edit Button: Shows/hides the ScreenGlow button on an Image Details page
Each option can be toggled on/off to match your preferred workflow.
When to Use Each Method
- Media Library Paste: Perfect for quickly editing screenshots or images from your clipboard
- Media Library Button: Great for starting fresh or when you want to import existing images
- Media Modal Tab: Ideal when working within posts, pages, or your page builder
- Attachment Edit Button: Great when you want to rework and replace existing images
All methods give you access to the same powerful ScreenGlow features – choose the one that best fits your workflow!
Pro Tip: If you frequently work with screenshots, enabling the paste feature provides the fastest workflow: just capture your screen, copy, and paste directly into WordPress!